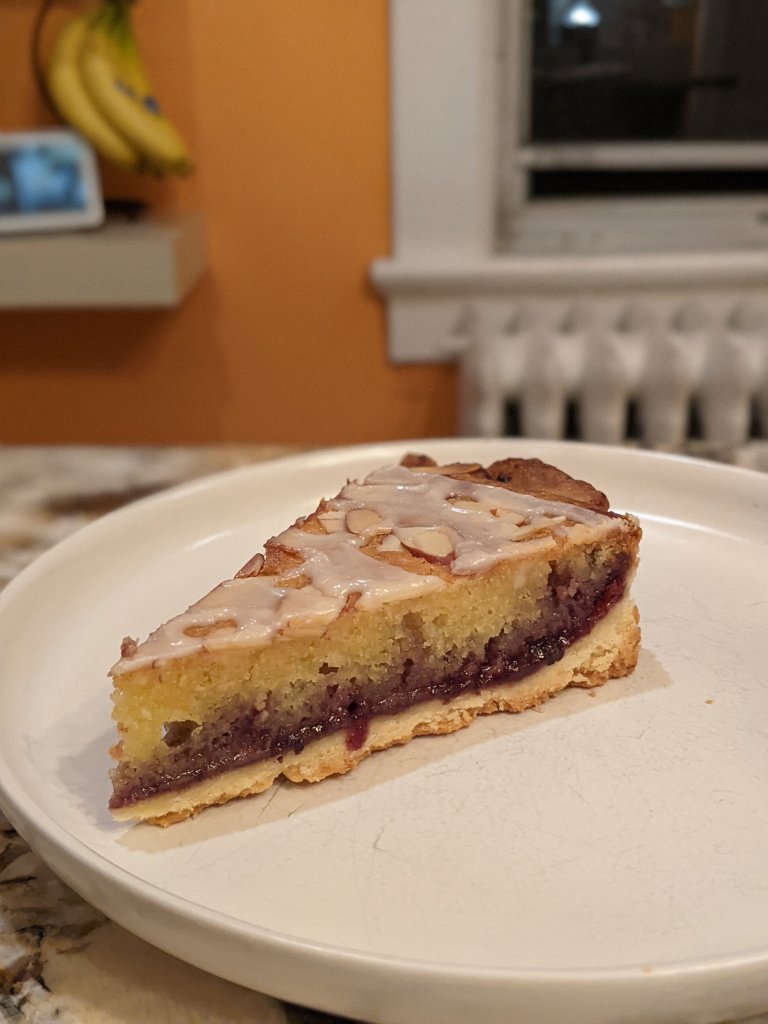
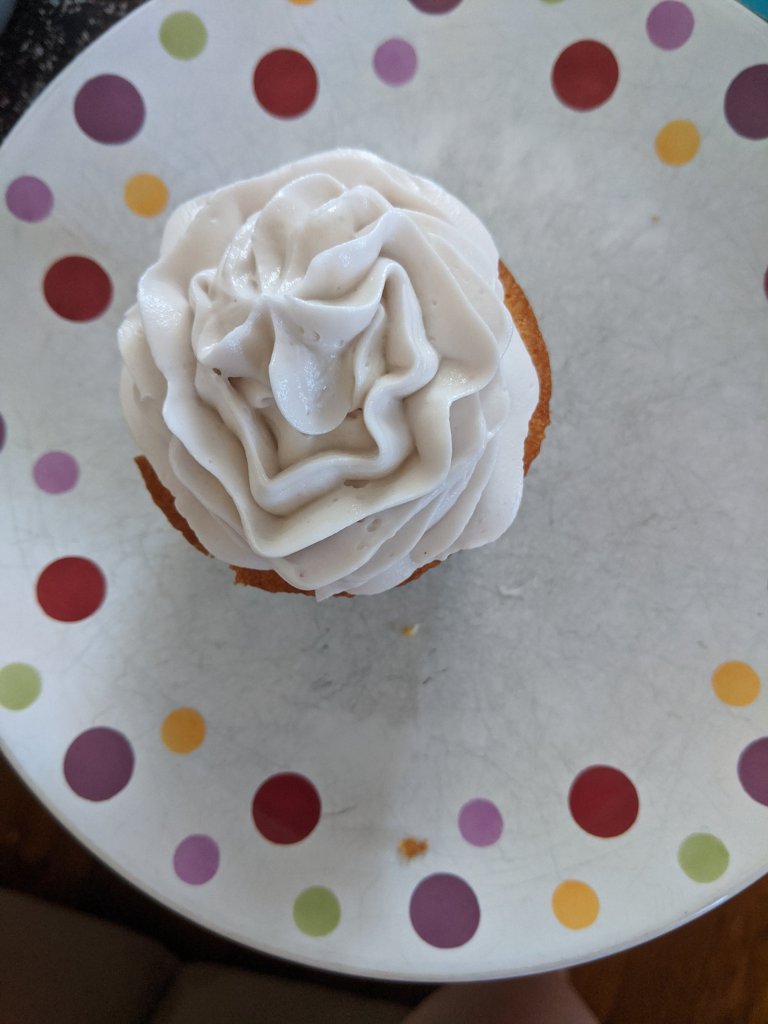
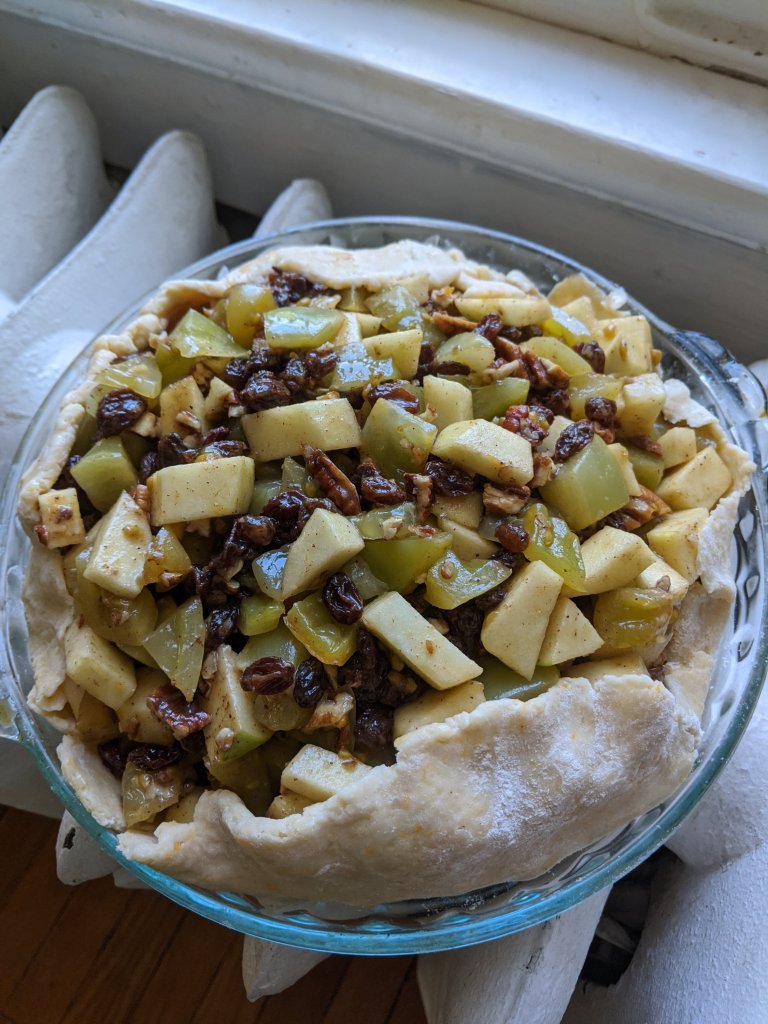
… part 2 brought pie 12! Insert Beyonce singing “can’t believe we made it” here (if you do not get this reference, please listen to the Carters right now). I decided to end with a bang, which of course involves a marvel by Christina Tosi: cinnamon bun pie.
Begin with the “mother dough”. It’s basically a version of sour dough starter, but doesn’t have the sour:
- 3 1/2 cups flour
- 1 tbsp kosher salt
- 1 1/8 tsp active dry yeast
- 1 3/4 cups room-temp water
- Neutral oil
Combine the dry ingredients by hand in a stand mixer bowl. Continue to stir by hand and add the water. Mix for about one minute, until the mixture is shaggy.
Use the dough hook to mix on the mixer’s lowest speed for 3 minutes until smoother and cohesive. Continue to knead with the hook on lowest speed for 4 minutes. You should have a wet-looking ball that bounces back gently when poked. Brush a bowl with oil (I used vegetable) and add the dough. Cover with plastic and let rise 45 minutes at room temp.
You’ll also need liquid cheesecake:
- 8 oz cream cheese
- 3/4 cup sugar
- 1 tbsp cornstarch
- 1/2 tsp kosher salt
- 2 tbsp milk
- 1 egg
Heat the oven to 300°. Put the cream cheese in the mixer and use the paddle attachment to mix on low for about 2 minutes. Scrape down and add the sugar. Mix for a few more minutes until completely incorporated and scrape again.
Whisk together the cornstarch and salt. Whisk in the milk slowly and steadily, then whisk in the egg until nice and homogenous. Wouldn’t be a Tosi product without an emulsion or slurry, right?
Put the mixer on medium-low and stream in the egg mixture. Mix for 3-4 minutes, until smooth and loose. Scrape. Line a 6×6 baking pan with plastic wrap (I know, I thought it was nuts, but it works and yes, you can bake plastic wrap at low heat). Add the cheesecake mixture and bake for 15 minutes. Gently shake-it should be slightly firm at the sides, but still quite jiggly in the very center. If everyone is jiggly, 5 more minutes in the oven. If things start to really puff or brown, get it out, stat! Cool completely in order to let the cheesecake set. It should still spread easily when we use it in a few minutes, though.
And you need brown butter:
Put 1/4 cup (80 grams) unsalted butter in a microwave-safe bowl, cover with a safe saucer or plate, and microwave 3-5 minutes. Do not panic. This is going to go splat, crackle, pop and get nice and brown. Browner=more flavor. Don’t cheat yourself and pull it before it’s pretty dark. Let cool completely.
Oh, and cinnamon streusel:
- 1/4 cup flour
- 1/4 cup old-fashioned rolled oats
- 1 tsp ground cinnamon
- 1/4 tsp kosher salt
- 2 tbsp light brown sugar
- 2 tbsp melted butter, unsalted
- 1/8 tsp vanilla
Combine the dry ingredients, then pour in the melted butter and vanilla and toss until almond-sized clusters appear.
And a few other miscellaneous ingredients:
- 1/4 cup light brown sugar, packed
- 1/4 tsp kosher salt
- 1 tsp groun cinnamon
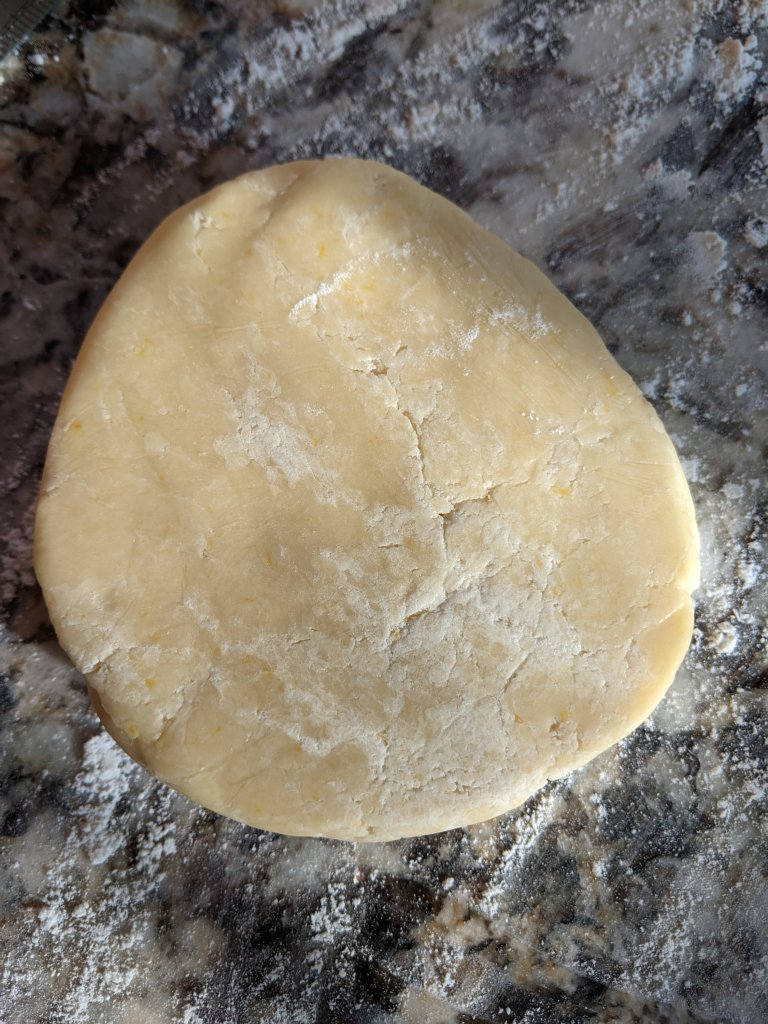
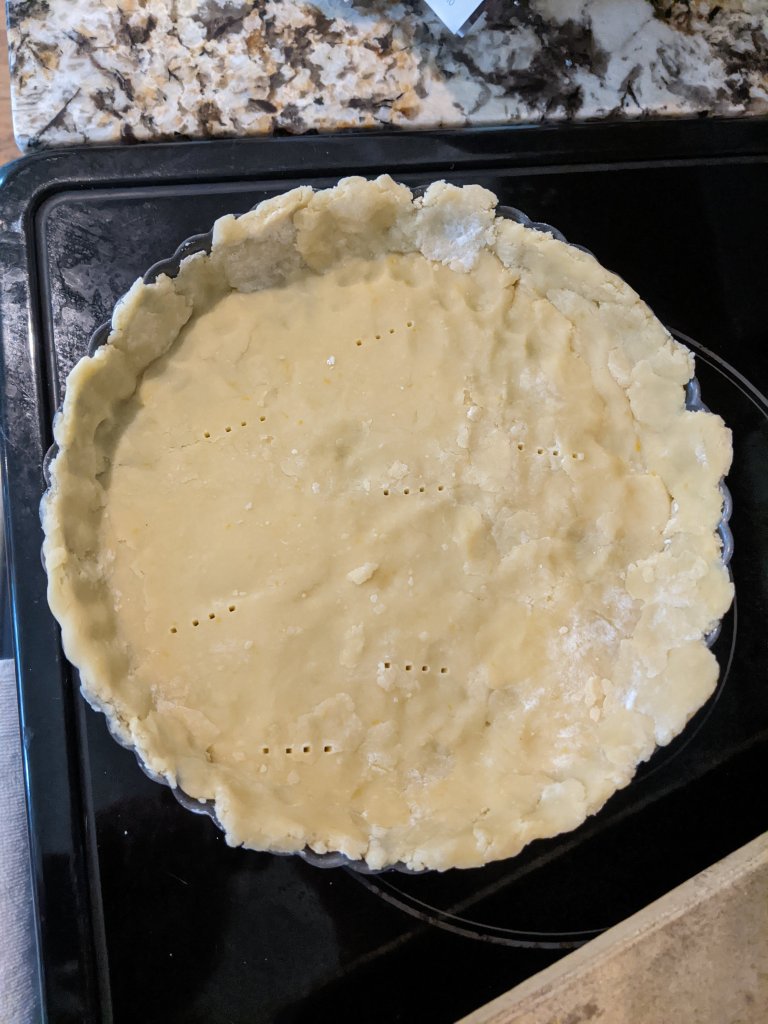
Well now, that’s enough for starters, right? Let’s set the oven to 350° now. Punch down and flatten the dough you made. Spread a bit of flour on the counter and use a rolling pin to flatten the dough (you can also stretch it out using your hands, like you are making pizza dough). Your end product should be a circle that’s about 11 inches around and 1/4 inch thick. Place the dough in a 10 inch pie pan and use your fingers and palms to press into place. Put the tin on a sheet pan.
Using a spoon, spread half the brown butter over the dough. Use another spoon to spread half the liquid cheesecake in an even layer over the butter. Top with the remaining browned butter. Scatter brown sugar over the brown butter. Press down with the back of your hand to keep it in place. Sprinkle with the salt and cinnamon. Spread the last portion of liquid cheesecake as evenly as possible on top. Nice and gentle, so as not to combine spices with the cheesecake on top. Spread the streusel evenly on the cheesecake. Tamp down with the back of your hand.
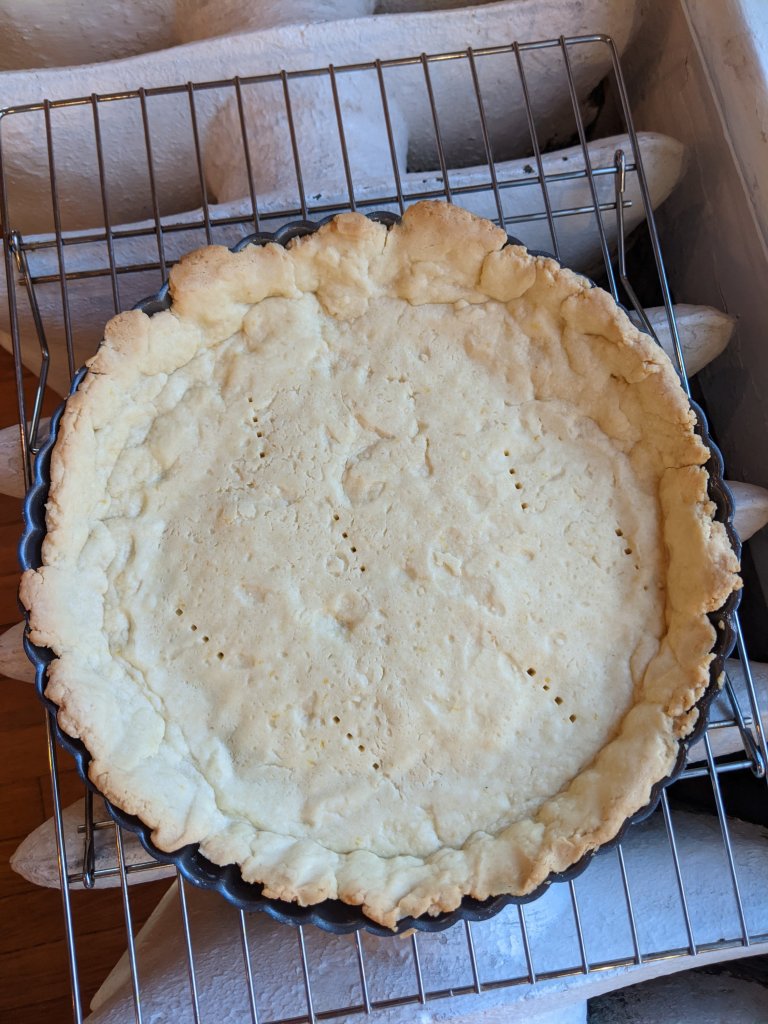
Bake for 40 minutes. Your crust should puff and brown, the cheesecake will set, and the topping will become crunchy. After the 40 minutes, give the pan a shake. You should still see some slight jiggles in the center, but the edges should be set. You can keep baking in 5 minute intervals until these results are achieved. If the pie bubbles over the top, bully for you-extra snacks! Cool slightly, but serve warm.


The pie keeps well-throw it in the microwave for a few seconds if you don’t eat it all in the first dishing. This was definitely one of my favorites this year-you can eat it for breakfast, lunch, or dinner! And what a year it was. A pandemic, lockdown, grocery shortages, total lifestyle changes… And yet, still (I’m guessing, should have actually counted) hundreds of cupcakes trialed and perfected, 12 pies, 2 lifelong friends marrying great partners, and multiple sourdough loaves and pancakes that Schatzi perfected. We had much to celebrate. Yet, cheers to this new year and the prospect of hope. Better days are already here and plenty more are yet to come, friends. This year’s baking adventures have already begun, but I’m not setting a number or making a specific list. I’ve already done croissants, vegan pizza dough, pita chips, and a reduced sugar version of monkey bread (hello, sucanat) that were all great successes. Who knows when the next post will be; Valley Voice is thriving (send me a message to set up a voice lesson or consult!), and I finally landed a dream job in in-patient rehab, so free time… Is not a part of my life at the moment. But! As I always tell my patients and clients, I’ll see you when I see you!
*sc